Today’s air conditioners are intelligent and require minimum human intervention to perform efficiently. In a bid to automatically get rid of all the moisture that accumulates over the evaporator coils, a drip pan is provided. Usually, there are two drip pans in an air conditioner – primary and secondary or auxiliary. The primary pan is fixed in place and cannot be removed. Hence, replacing it is a bit tricky. On the other hand, the secondary pan is easily accessible and can be replaced with much trouble
How Can I Find The Drip Pan?
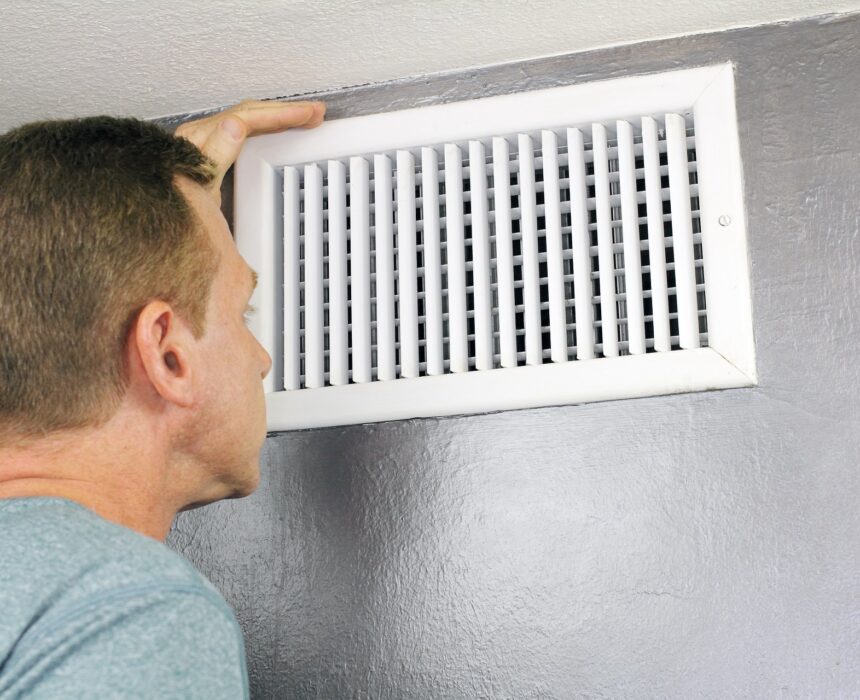
If you are a novice and don’t know much about ACs, this is the most logical question you would ask. You need to take off the front grille or the access panel of the AC to see the drip pan. Directly behind the front grille are the evaporator coils, and right underneath it is the drip pan. Ideally, it is a tray-like structure with a tube attached to it for draining the collected water.
When To Replace The Drip Pan
If your drip pan has developed leaks, it needs to be replaced. Holes and cracks appear in the pan due to aging and corrosion. Due to this, the moisture that accumulates in it does not drain effectively through the attached drain pipe. Instead, it drips down and causes water seepage in the walls and puddles on the floor. On its own, it may not look like a big issue, but continuous dampness will propagate mold growth and may also spoil your woodwork. After some time, even the air will start smelling musty instead of fresh and clean.
Things You Need While Replacing Drip Pan
Here are a few things you should keep handy while replacing a drip pan –
- The new replacement drip pan.
- Pliers
- Wrench
- Rags to mop up and spills.
- Gloves
How To Replace An Air Conditioner Drip Pan
As stated above, there are two drip pans in an AC – a primary and an auxiliary drip pan. Therefore, we shall learn how to replace them separately to avoid any confusion.
Replacing The Primary Drip Pan – The primary drip pan is fixed in place and so a little complicated to replace. With the right tools and adequate knowledge, you can do a decent job of replacing it correctly.
Step 1 – Cut the power supply to your air conditioner. Whenever carrying out any repairs on electricals, it is imperative that you begin by disconnecting the power supply to it. You will at least not have to worry about getting a shock due to a mistake or sheer carelessness.
Step 2 – Remove the hatch or the access panel to expose the coils and the drip pan.
Step 3 – Closely examine the drip pan to see how it is attached in place. It may be held in place by screws or clips. The good news is that if it is held by screws or clips, you can replace the pan. The bad news is, if it is welded in place, there’s nothing you can do about it. Your only option, in this case, is to call the HVAC technician and let them take care of it.
Step 4 – If the drip pan is attached with screws and clips, begin by disconnecting the drain line. You can use either pliers or a wrench to disconnect the drain line where it connects with the drip pan.
Step 5 – Unscrew or unclip the drip pan and slowly slide it out. There could be mold inside the drip pan, so refrain from touching inside. Even better is to wear gloves so that there is no way your skin comes in direct contact with the mold.
Step 6 – Gently slide in the new drip pan and screw it back in or clip it on as the case may be. Reattach the drain line, and you are almost done.
Step 7 – Replace the access panel and flip on the power supply.
Replacing The Secondary Drip Pan – Replacing the auxiliary drip pan is relatively easy as it is rarely screwed in place.
Step 1 – Repeat steps 1 & 2, as mentioned above. The power supply needs to be cut, and the access panel taken off.
Step 2 – The secondary pan can be found at the bottom of the AC unit. Disconnect the drain line attached to it.
Step 3 – This pan is usually not fastened in place, but it is always better to make sure as that may not be standard practice. If there are no screws or clips, slide it out. However, if it is fastened in place, unscrew or unclip it and gently slide out the pan.
Step 4 – Insert the new drip pan and attach the drainpipe to it.
Step 5 – Replace the access panel and reconnect the power supply.
You are all done now. Sit back and relax in the nice cool air of your air conditioning.
Tips While Replacing An Air Conditioner Drip Pan
Here are a few tips which will save the day when it comes to replacing drip pans.
1. Take a pic and measurement of your old drip pan. This information will come handy when you buy its replacement.
2. Take a pic of how the drip pan is inserted and held in place inside the AC. It will help you tremendously when you replace it with a new one.
3. Wear gloves and old clothes so that you are adequately covered and do not spoil your regular clothes.
4. When unscrewing, keep all the screws safely in a small bad or dish so that you don’t lose them.
Finishing Up
Once you are done replacing your old cracked drip pan with a new one, you need to clean the mess you leave behind. Accidents happen because somebody slipped over a spill; you did not mop up or went sliding over a screw that came underfoot. With due care, you can replace your air conditioners drip pan without any help. At the end of the day, the satisfaction of a job well done will make you feel that you accomplished something worthwhile and also save you the technician’s fee.